In This Guide
What Is a Shot List?
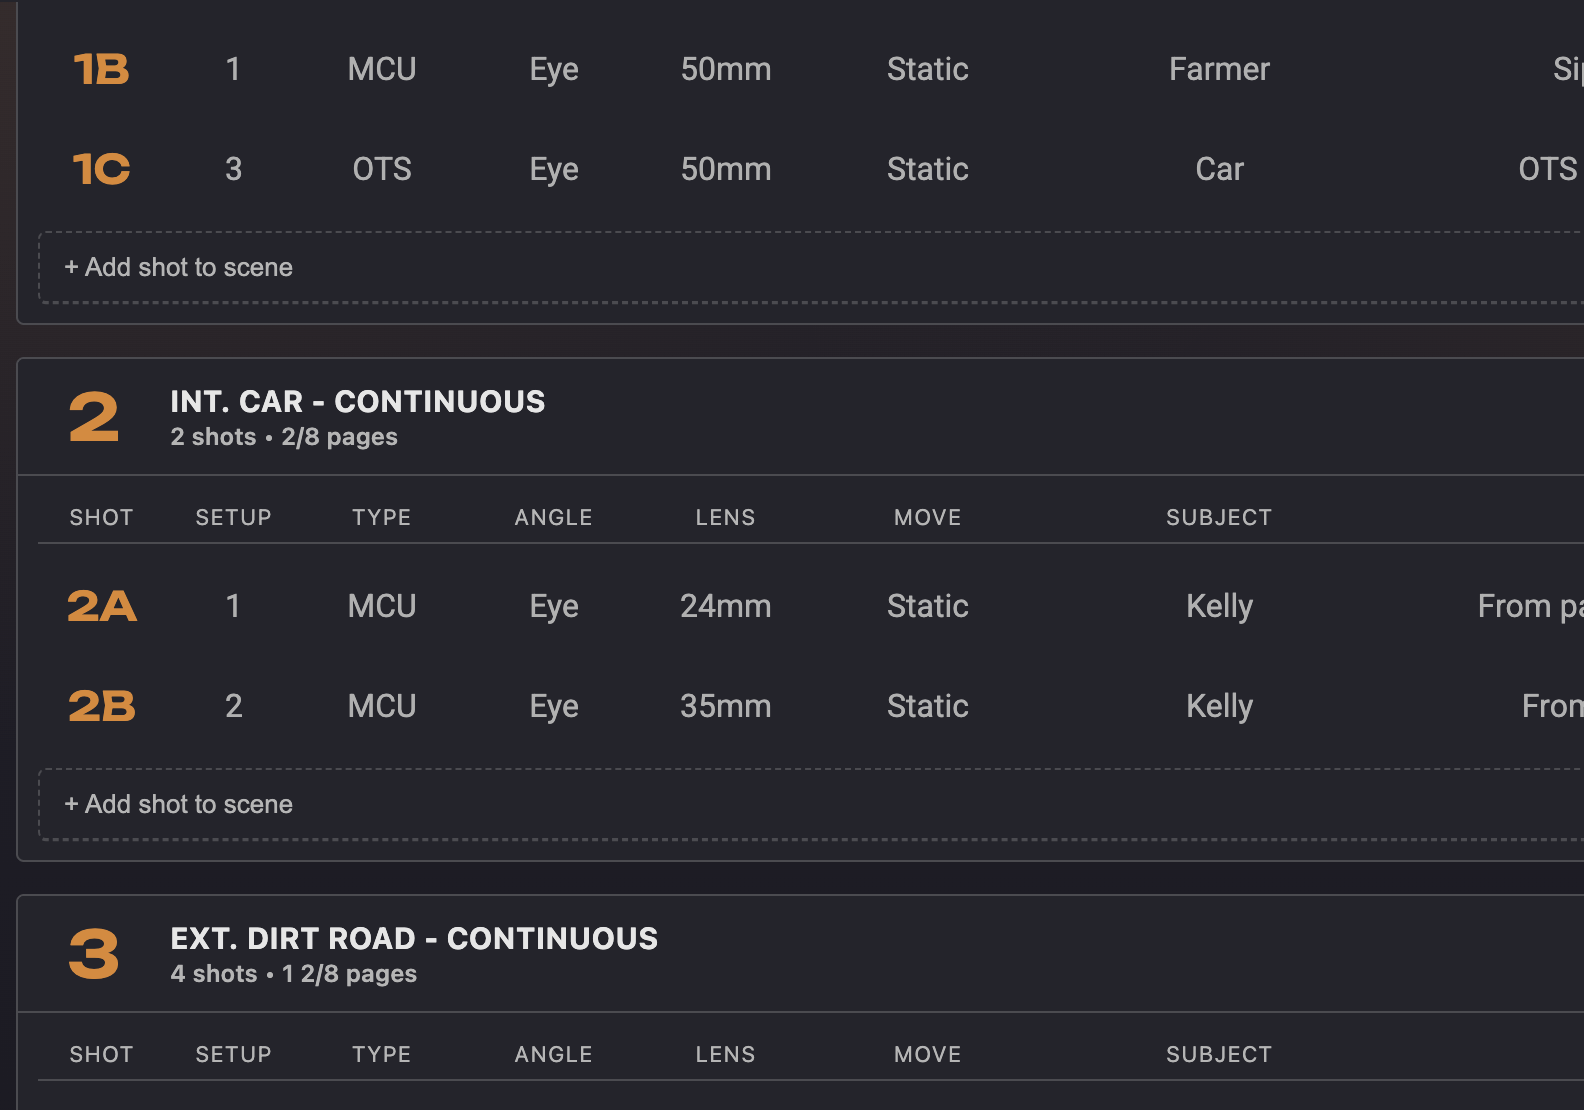
A shot list is a document that itemizes every camera setup planned for a production, organized by scene. Each entry describes a single shot: what the camera sees, how it's framed, whether it moves, and any special equipment or notes the crew needs to know about.
On a professional set, the shot list is the 1st AD's roadmap for the day. It tells them how many setups need to happen, roughly how long each will take, and what order makes the most sense given lighting, actor availability, and location constraints. On an indie set, it might be a printed sheet on a clipboard or a screen on a tablet — but it serves the same purpose.
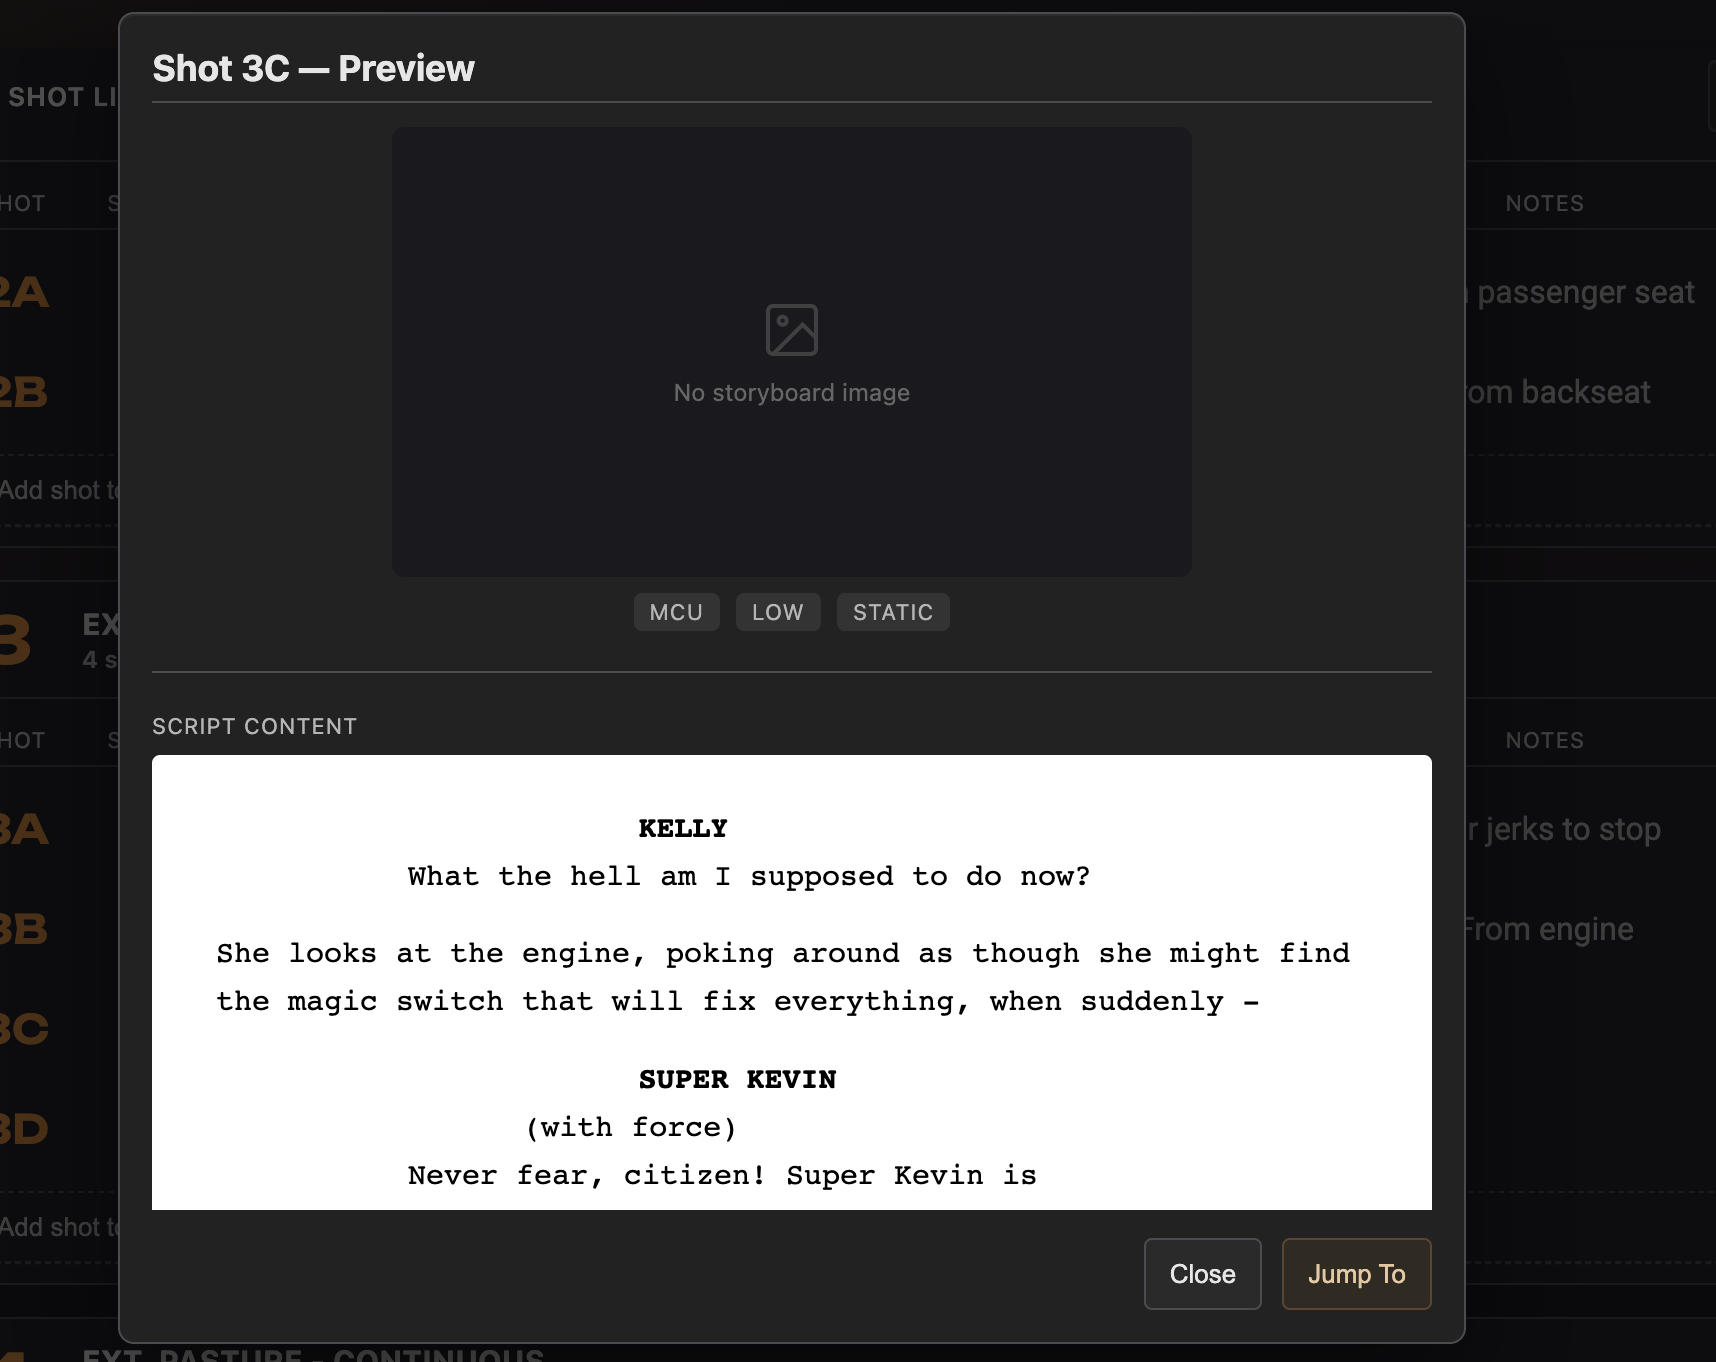
If you've already lined your script, the shot list is the natural next step. Each line drawn on the script corresponds to one entry on the shot list. The lined script shows coverage spatially on the page; the shot list presents the same information as structured data you can sort, filter, and hand to your crew.
Why Shot Lists Matter
The most common reason indie productions fall behind schedule is that they show up on set without a clear plan for what the camera needs to do. The director knows the scene emotionally but hasn't translated that into a concrete sequence of setups. The result is improvised coverage, repeated discussions between the director and DP about what to shoot next, and wasted time while the crew waits.
A shot list prevents this. It forces the director to make coverage decisions in advance — in a calm prep environment rather than under the pressure of a ticking clock on set. It gives the DP and gaffer a preview of what's coming so they can plan lighting setups. It gives the 1st AD a basis for scheduling the day. And it gives the editor confidence that every scene will have the coverage they need to cut it together.
This doesn't mean the shot list is carved in stone. Things change on set — a location doesn't look the way you expected, an actor brings something unexpected to a scene, weather forces a schedule change. The shot list is a plan, not a contract. But having a plan you can deviate from is fundamentally different from having no plan at all.
Anatomy of a Shot List Entry
A shot list entry typically includes several fields that together describe exactly what the camera needs to capture. Not every production uses every field, but understanding what's available helps you communicate clearly with your crew.
Scene and Shot Number
Every shot belongs to a scene, and every shot within that scene gets a sequential number. Scene 14, Shot 3 means the third setup planned for scene 14. This numbering system lets everyone on set reference a specific shot unambiguously.
Shot Type
The shot type describes how the shot is framed relative to the subject. A wide shot captures the full environment. A medium shot frames a character from roughly the waist up. A close-up isolates a face or detail. There are more specific types — extreme close-up, medium close-up, over-the-shoulder, two-shot, insert — and we'll cover the common ones below.
Framing and Lens
Beyond the shot type, you might note the specific lens (e.g., 50mm, 85mm) or a framing note like "low angle" or "dutch tilt." This is especially useful for the DP and camera department, who need to have the right glass ready.
Camera Movement
Static, pan, tilt, dolly, tracking, handheld, Steadicam, crane — the movement field tells the grip and camera departments what rigging is needed. A static shot on sticks is a very different setup from a dolly track, and knowing this in advance prevents delays.
Description and Notes
A brief description of what happens in the shot: "Wide master of the argument — both characters visible, A exits frame left at the end." Notes might include specific action cues, emotional beats, or technical requirements like "practical lamp needs to be in frame."
Common Shot Types and Framing
Shot types describe the relationship between the camera and the subject. Here are the ones you'll use most often.
Wide Shot (WS)
Shows the full scene environment with characters visible in context. Often used as the master shot — the safety coverage that captures everything. A wide shot of a living room argument shows both characters, the furniture, and the space between them.
Medium Shot (MS)
Frames a character from roughly the waist up. This is the workhorse of dialogue scenes — close enough to read expressions, wide enough to capture gestures and body language. Most conversation coverage falls in the medium range.
Close-Up (CU)
Isolates the face, filling the frame from forehead to chin. Close-ups carry emotional weight — they're where the audience reads micro-expressions, sees tears forming, watches a character make a decision. Use them intentionally for moments that matter.
Over-the-Shoulder (OTS)
Frames one character with the back of another character's head and shoulder in the foreground. This is the standard coverage for two-person dialogue — it establishes spatial relationship between the characters while focusing attention on the speaker. You typically shoot matching OTS shots from both sides.
Insert / Detail Shot
A tight shot of a specific object or detail — a hand picking up a phone, a letter being read, a clock on the wall. Inserts are often forgotten during planning but are essential in the edit for transitions, pacing, and conveying information without dialogue.
Tip: Don't forget inserts. It's easy to plan all your dialogue coverage and forget the detail shots — the close-up of the coffee cup being set down, the text message on the phone screen, the key turning in the lock. These shots are small and fast to capture but invaluable in the edit. Add a few to every scene.
Camera Movement
Camera movement adds energy, reveals information, or follows action. Each type has practical implications for equipment and time.
Static
Camera on a tripod, no movement. This is the fastest setup and the easiest to repeat for multiple takes. When in doubt on an indie production, static shots are your friend — they're reliable and they cut together cleanly.
Pan and Tilt
Rotation on the tripod head — pan is horizontal (left/right), tilt is vertical (up/down). Minimal additional equipment needed. A pan can follow a character walking across a room; a tilt can reveal a tall building from ground to rooftop.
Dolly / Tracking
The entire camera moves through space, usually on a track or wheeled platform. Dolly shots are smooth and cinematic but require additional equipment and setup time. A dolly-in toward a character's face can build tension; a tracking shot alongside a walking character creates a sense of movement and energy.
Handheld
Camera operator holds the camera, introducing organic movement and a documentary feel. Handheld is fast to set up and creates immediacy, but it can also feel chaotic if overused. It works well for scenes with high energy, conflict, or urgency.
Steadicam / Gimbal
Stabilized movement — the camera moves through space smoothly without the rigidity of a dolly track. Great for following characters through environments, but the equipment is specialized and the operator needs experience. On a micro-budget, a gimbal can approximate this look at lower cost.
Building a Shot List, Step by Step
1. Start with the Script
Read the scene and identify its beats — the emotional turns, the key moments of action, the critical pieces of dialogue. These beats will drive your coverage decisions. A scene where two characters share quiet news needs different coverage than a scene where someone storms out of a room.
2. Decide on Your Master
Almost every scene needs a master shot — the wide or medium-wide that covers the whole scene. Start your shot list with this. It's your safety net: even if you run out of time for close-ups, you'll have the scene covered.
3. Add Coverage for Dialogue
For each character in the scene, decide how you'll cover their dialogue. The standard approach for a two-person conversation is matching over-the-shoulder shots — OTS favoring Character A, then OTS favoring Character B. You might add a close-up of one or both characters for key emotional beats.
4. Plan for Action and Movement
If the scene involves physical action — a character entering, an object being handed over, someone sitting down — make sure you have a shot that captures it clearly. Sometimes the master covers it; sometimes you need a dedicated setup.
5. Add Inserts and Details
Go through the scene one more time looking for objects, screens, hands, or environmental details that the audience needs to see. Each one gets a shot list entry. These are typically fast to shoot and can often be picked up at the end of the scene's coverage.
6. Review for Gaps and Excess
Look at your list. Is every beat of the scene covered? Could the editor cut this together with what you've planned? Also check the opposite: have you overplanned? Eight setups for a one-page scene might mean you're spending time on coverage you won't use. Trim where you can — every setup you cut saves time on set.
Organizing Shots for Efficient Shooting
The order of shots on your shot list doesn't have to be the order you shoot them. In fact, it usually shouldn't be. Shooting order is driven by practical concerns: lighting direction, actor availability, equipment changes, and location access.
The most common strategy is to shoot in order of setup complexity. Start with your widest shot — it typically requires the most lighting and the most set dressing visible — and then work inward toward tighter shots. Once the wide is done, you can start pulling lights and dressing out of frame, tightening the setup for mediums and close-ups. This is faster than bouncing back and forth between wide and tight setups.
Another consideration is grouping shots that use the same camera position or equipment. If two shots in a scene both use the same dolly track, shoot them back to back rather than laying track, pulling it, and laying it again later. Similarly, if an actor is only available for half the day, group all their coverage early.
On the shot list itself, number the shots in script order (the order they appear in the scene) so they're easy to reference. The shooting order is a separate decision that gets handled in scheduling.
From Shot List to Schedule
The shot list feeds directly into the shooting schedule. Each setup on the list takes time — time to rig the camera, set the lights, block with actors, and shoot multiple takes. The 1st AD uses the shot list to estimate how long each scene will take and builds the day's schedule around those estimates.
A general rule of thumb for indie productions: plan for 15–30 minutes per setup, depending on complexity. A static close-up on sticks might take 10 minutes. A dolly tracking shot with precise focus pulls might take 45. The shot list gives the AD the information needed to make these estimates — and to flag scenes that are overscheduled before they become a problem on set.
In a connected workflow, shot list data flows into the stripboard schedule alongside breakdown data and scene information. The schedule knows how many setups each scene requires because the shot list told it — and that number directly affects how much time the scene gets in the day.