In This Guide
What Is a Storyboard?
A storyboard is a sequence of images — drawn, photographed, or digitally created — that represents the shots in a scene or sequence. Each image corresponds to a camera setup and shows the framing, composition, and key action of that shot. Arranged in order, they create a visual preview of how the scene will look on screen.
The concept has been part of filmmaking since the 1930s, when Walt Disney's studio formalized the practice for animation. Live-action filmmakers adopted it for sequences where the visual execution was too complex to describe in words — action scenes, VFX-heavy sequences, elaborate camera moves. Directors like Alfred Hitchcock and Ridley Scott are famous for storyboarding extensively; others, like Robert Altman and Mike Leigh, barely use them at all.
The key thing to understand is that storyboards are a communication tool, not a creative requirement. Their purpose is to help the director, DP, and crew share a visual understanding of the plan before shooting begins. If you can achieve that understanding without drawings, you don't need storyboards.
When to Storyboard
Storyboards earn their time investment when the visual execution is complex enough that words alone can't communicate the plan effectively.
Action and Stunt Sequences
Any scene involving physical action — fights, chases, stunts — benefits enormously from storyboards. The timing and spatial relationships between shots need to be precise, and a storyboard shows the stunt coordinator, camera operators, and actors exactly what's expected. Safety planning for stunts often requires storyboards as part of the review process.
VFX-Heavy Scenes
When elements will be added or modified in post-production, the VFX team needs to know exactly what the camera will capture and what will be composited later. Storyboards define the boundary between practical and digital work and ensure the on-set framing accounts for elements that aren't physically present during the shoot.
Complex Camera Movement
A long, choreographed tracking shot through multiple rooms — or a crane shot that starts wide and pushes into a close-up — is difficult to describe in a shot list entry. A storyboard (or series of frames showing key positions along the move) gives the DP, grip, and camera operator a shared understanding of the shot's choreography.
Sequences with Precise Editing Rhythm
Montages, parallel action sequences, and any scene where the editing pace is integral to the storytelling can benefit from storyboards that show the cut pattern — how shots relate to each other in sequence, not just individually.
Director-DP Communication
Even for straightforward scenes, storyboards can be useful if the director and DP don't have an established shorthand. A few frames showing the intended framing and composition can prevent misunderstandings that waste time on set. This is especially relevant on indie productions where the director and DP might be collaborating for the first time.
When a Shot List Is Enough
For many scenes on indie productions, a detailed shot list communicates the plan adequately without the additional time investment of storyboarding.
Standard Dialogue Scenes
A conversation between two characters covered with a master, matching OTS shots, and close-ups is a well-understood pattern. The shot list says "wide master," "OTS A," "OTS B," "CU A," "CU B" — and every experienced DP knows exactly what that means. Drawing five storyboard frames for this adds time without adding clarity.
Simple Interior Scenes
A character alone in a room, a phone call, someone cooking breakfast — scenes where the visual plan is straightforward and the blocking is minimal. A shot list with clear descriptions is typically sufficient.
Documentary-Style or Handheld Coverage
If the visual plan is intentionally loose — following the action handheld, finding moments rather than pre-choreographing them — storyboards work against the approach. You're planning not to plan, and that's a valid creative choice.
The practical test: If you can describe the shot in one sentence and your DP would immediately understand what you mean, you probably don't need a storyboard for it. If it takes a paragraph and you're still not sure the picture in your head matches the picture in theirs, draw it.
Approaches to Storyboarding
Hand-Drawn
The traditional approach. You don't need artistic skill — stick figures and rough shapes are fine as long as they communicate framing, composition, and spatial relationships. What matters is that the frame shows where the camera is, what's in the shot, and how the elements are arranged. Many working directors use napkin-quality sketches, and they're perfectly effective.
Photo-Based (Photobording)
Take photos that approximate your planned shots — using the actual location if you've scouted it, or a stand-in space. Position friends or crew members as the characters, frame the shot on your phone the way you'd frame it on camera, and take the photo. This approach is fast, requires no drawing ability, and produces frames that are directly useful for discussing framing and composition with your DP.
Digital Tools
Software like Storyboarder (free), Shot Designer, or dedicated storyboarding apps let you create frames digitally. Some generate characters and environments you can arrange; others provide drawing tools. The advantage is easy editing and professional-looking output. The risk is spending more time learning the tool than the storyboards are worth.
Shot List with Reference Images
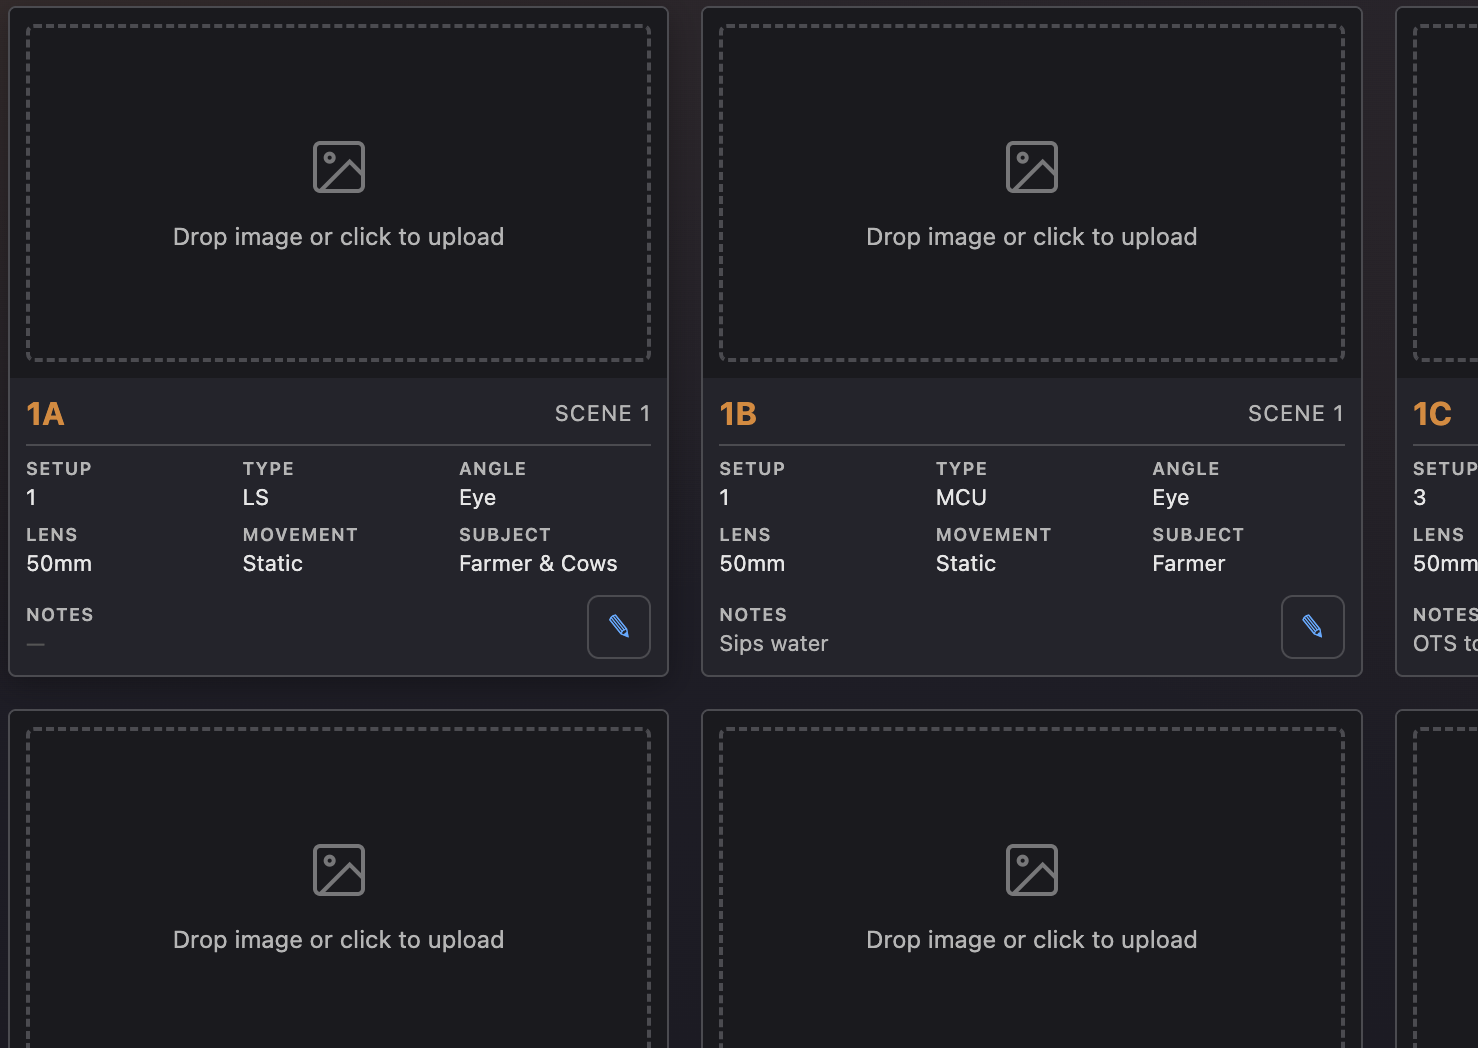
A hybrid approach that many indie filmmakers find practical: maintain a shot list as your primary planning document and attach reference images to specific shots where visual clarity is needed. The reference might be a frame from another film that shows the composition you're after, a quick sketch, or a photo from the location scout. In a connected tool, each shot list entry can include an image — creating a storyboard view alongside the structured shot data.
Anatomy of a Storyboard Frame
A useful storyboard frame includes several elements beyond just the image.
The image itself shows the camera's perspective — what's in frame, how it's composed, where the subjects are positioned. The aspect ratio should match your shooting format (16:9 for most digital work, 2.39:1 for anamorphic, etc.).
Shot information — the scene number, shot number, and shot type (WS, MS, CU, etc.) — should be labeled on or near the frame so it's clear which shot list entry this frame represents.
Action notes describe what's happening in the frame — character movement, camera movement, or key dialogue. Arrows are commonly used to indicate the direction of movement within the frame or the direction of a camera move.
Transition notes between frames indicate how you plan to get from one shot to the next — a cut, a dissolve, or a camera move that connects them. This is especially useful for sequences where the rhythm between shots is part of the design.
Storyboards in the Pre-Production Workflow
Storyboards sit between the shot list and the shoot. The typical flow is: line the script to plan coverage, build the shot list from the lined script, then storyboard the scenes that need visual planning beyond what the shot list provides.
Not every shot on the shot list needs a storyboard frame. Storyboard selectively — focus on the shots and sequences where a visual reference adds value. A production with 80 shots might only storyboard 15–20 of them, concentrating on the complex setups and key visual moments.
In a connected workflow, storyboard frames correspond to shot list entries. Each line drawn on the lined script creates a shot list entry, and that entry can have an associated storyboard frame — drawn, photographed, or uploaded. The three views (lined script, shot list, storyboard) are different lenses on the same data: spatial coverage, structured details, and visual preview.
Share storyboards with your DP and key crew before the shoot, ideally at the production meeting or tech scout. They're a conversation starter, not a final mandate — the DP may suggest adjustments to framing or composition, and those adjustments should flow back into the plan. The goal is alignment, not rigidity.